Pictures and notes from various DIY Projects.
Projects


All Posts Tagged ‘DIY’

Garden Room reed blinds
Garden Room reed blinds — The idea is to keep some warmth in and the weather out at night.

Running Repairs (365:14)
Running Repairs (365: 14) — This is what happens when you leave the kids in charge of the house while you go away for New Year. 3

Running Repairs in the Garden
Running Repairs in the Garden — After weeks of high winds the back garden fence was in need of some TLC. A few screws did the job. It is not easy standing on a ladder holding a drill and taking a picture at the same time.

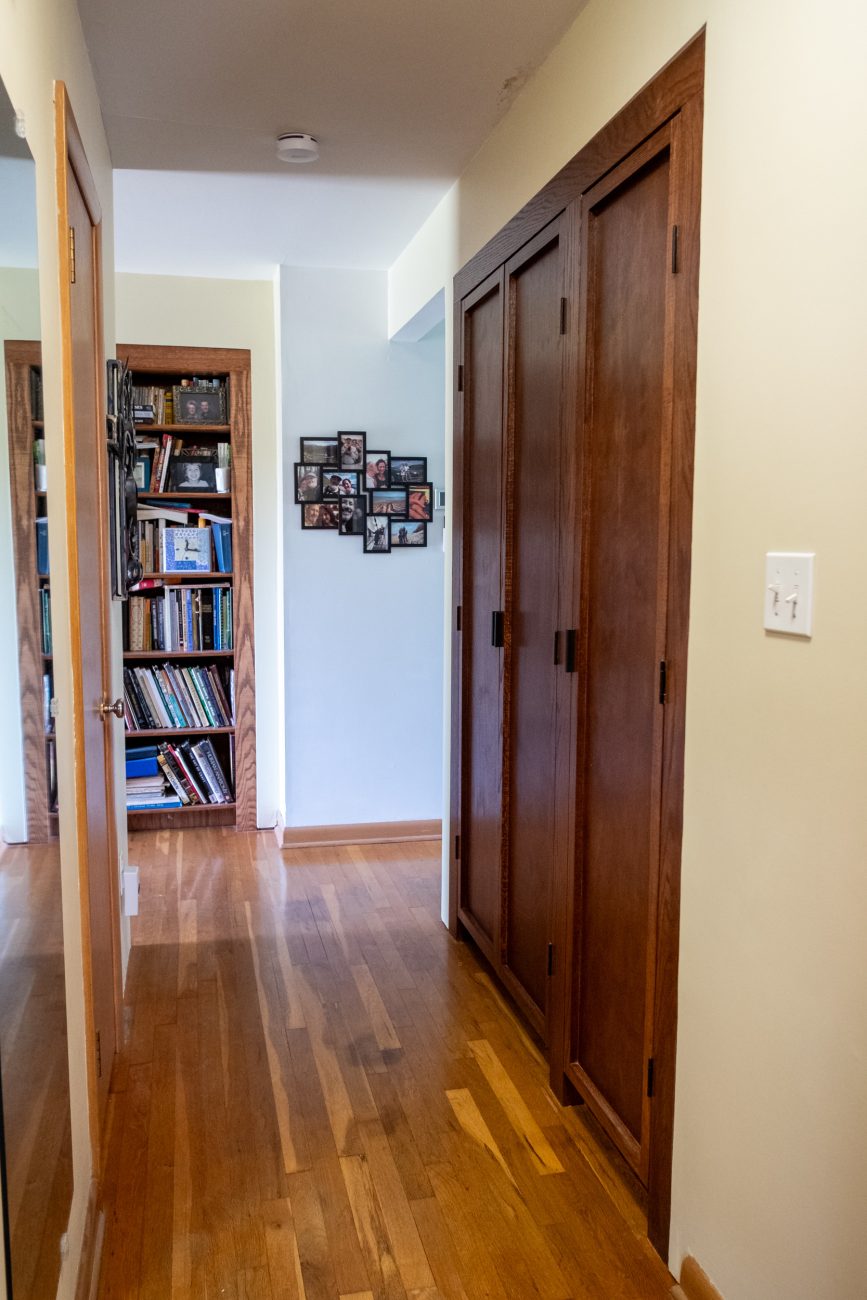
Stairs to the top floor
Stairs to the top floor. I hate that banister. We cleared and stripped the hall and my work room, ready to take down the wall and ceilings.

Cleared and ready
Cleared and ready — Looking westward down the middle floor hall, my workroom to the right. The wall on the right has to come down.

Workroom: Cleared and ready
Workroom: Cleared and ready — My workroom emptied of everything except the home network server cupboard, which will have to stay in place.

Damage
Damage — This is the damage to the wall outside Eldest’s bedroom caused by door slamming!

Hall cleared and Ready
Hall cleared and Ready — Middle floor landing looking east; cleared and ready to drop the ceilings.

Choices, choices
Choices, choices — I have a really strong aversion to using my camera in public places, so I’m forcing myself to give it a try. While busy this particular aisle in the store was almost empty.

Outside My Comfort Zone; Combining Retail and Aversion Therapy (365: 89)
Outside My Comfort Zone; Combining Retail and Aversion Therapy (365: 89) — I have a really strong aversion to using my camera in public places, so I’m forcing myself to give it a try. While busy this particular aisle in the store was almost empty.

Temporary Storage
Temporary Storage — All the stuff in my workroom is now in the Kitchen and out in the garden! How did such a lot of stuff fit in such a small room? 2

Day 02. Middle Hall Looking west
Day 02. Middle Hall Looking west — Partway through clearing up.